

PROJECT WHITE WAGON: GRINDING, CLEANING, LIGHTENING AND ASSEMBLING
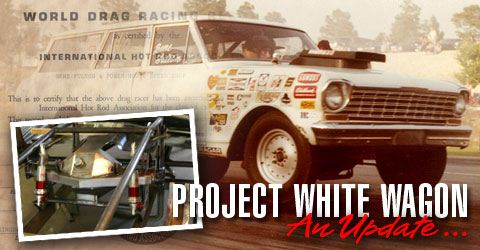 Follow along with the progress of our Project White Wagon. In tribute to the legendary White Wagon, a car built and driven by five-time Modified eliminator champion Gene Fulton, we have decided to embark on a modern day version of the deceased race car. We rescued a 1964 Chevy II Wagon from a junkyard and piece by piece we plan to build a modern day version complete with a 292-inch, five speed transmission intended for Super Stock/E Modified. Read our latest installment.
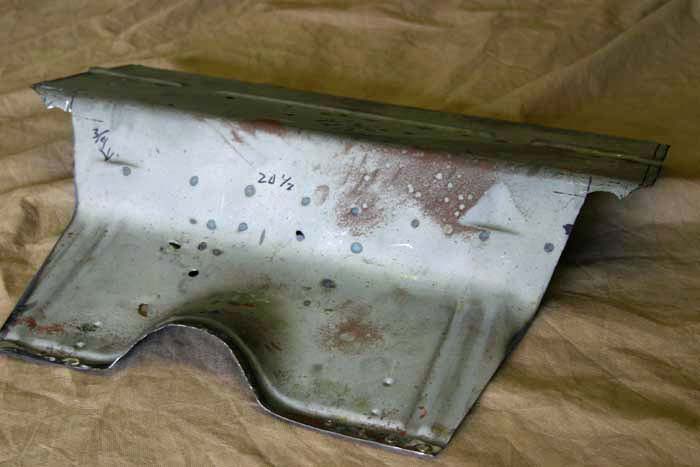 REAR SECTION PREPARATION - This is the rear section which connects the JW floor pan to the rear bed sheetmetal. It has been trimmed to fit between the frame rails providing a good baseline for the filler sheetmetal. It is important that it has a good fit, so as to not have a lot of extra work and makes for a better fit. You’ll notice the Jegs’ sandblaster did an incredible job of cleaning up the original 1964 sheetmetal.
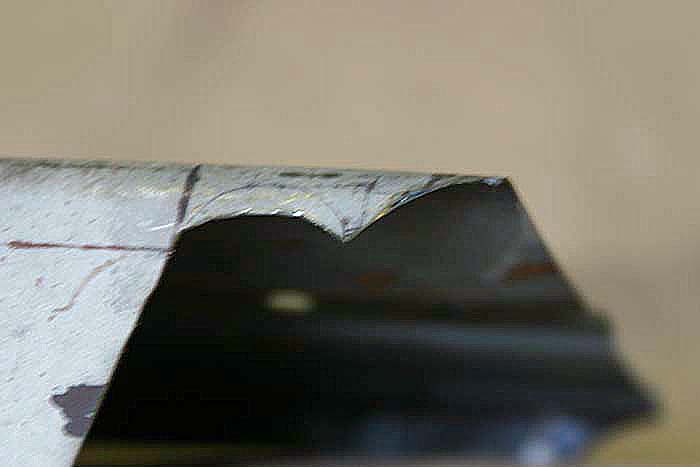 PREPARING ORIGINAL SHEETMETAL - We have to cut out and radius the original sheetmetal to work with the frame rails and super structure of Project White Wagon. There’s no room for error as this is our one and only version of this sheetmetal with no aftermarket replacement options available. Being meticulous and not overcutting is crucial.
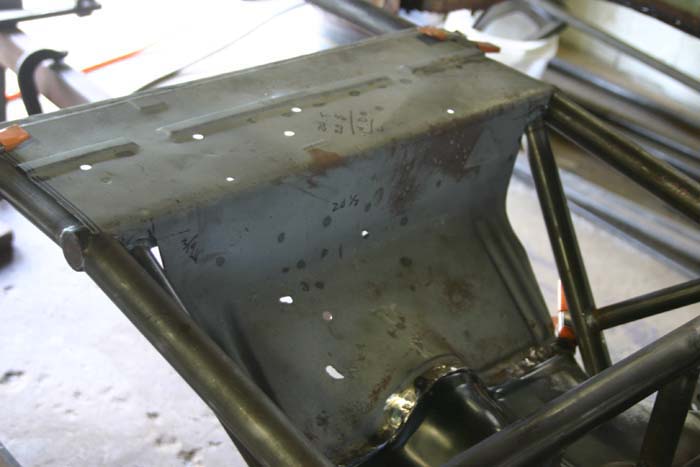
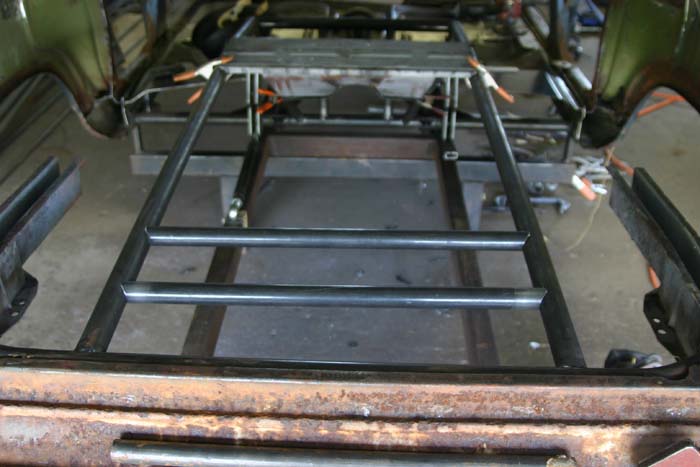
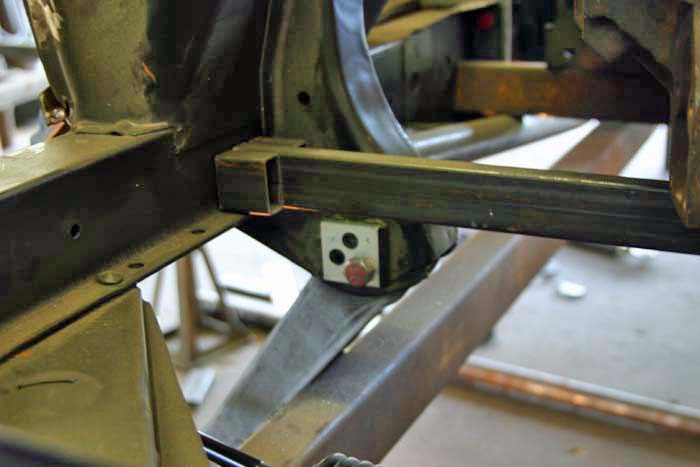
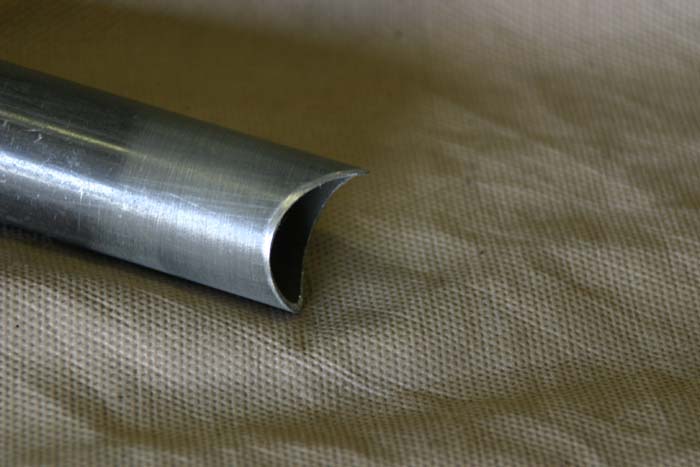 GETTING CREATIVE - Sometimes projects such as our complex Project White Wagon require a good measure of creativity. Special offset machining was required for this bar, one of two which will be implemented with the purpose of mounting our Jegs aluminum 5-gallon fuel cell. This is important because a smaller tube will be mounted flush with the top of the rear main frame rail. (Below) The straight-edge which runs frame rail to rail, mounts flush with the top of the two rear frame rails.
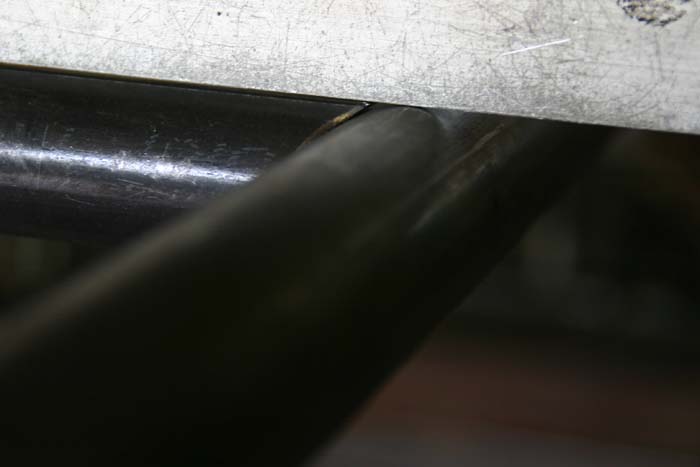
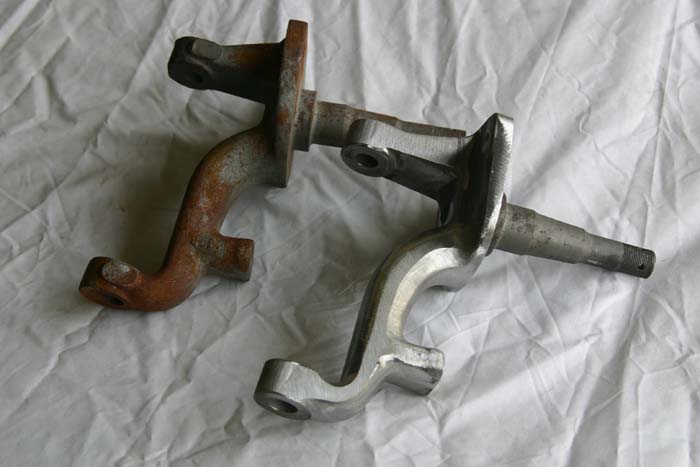 PREPARING THE FRONT SPINDLE - This is the differences between the front end spindle before and after lightening. When you are building a car such as Project White Wagon to compete against the new Detroit iron, you must go through the painstaking efforts of grinding the grinding parting lines, factory turning stops (as NHRA now allows rack & pinion steering in the SS/Modified division) and deburring as well as squaring up the part. Before you begin this process, you should always check the spindles to make sure they are square and straight. The reason for this is this car was driven on highway and per NHRA rules use stock spindles. They have a tendency to hit potholes during their days on the street. Luckily for us, our only suffered .002 run out.
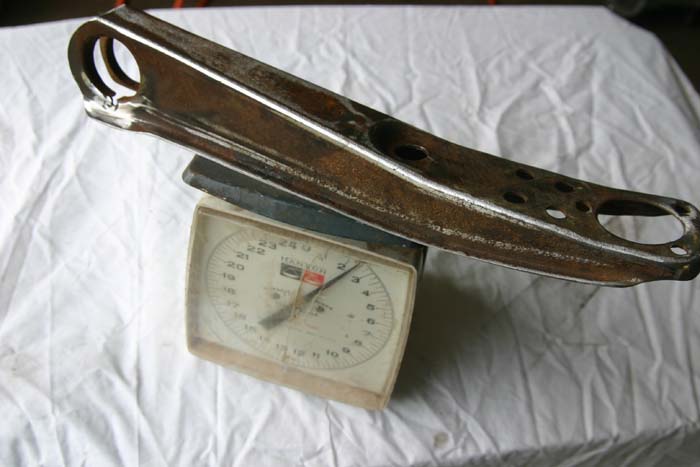 TAKING WEIGHT OFF - This is the stock lower control arm trimmed, lightened and cleaned. As you can see, we’ve taken one pound easily off of this one part as the below photos will show. By doing this, you’re replacing the stock unit with assurance you have a nice clean replacement piece.
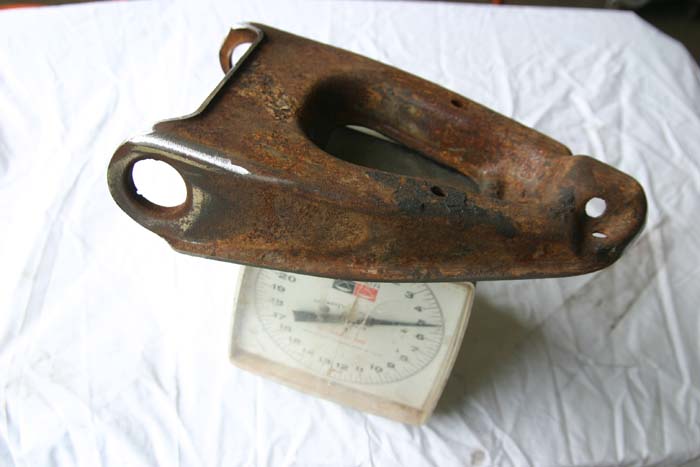 THE OEM DIET - The upper control arm has been put through the same rigorous procedure as the [above] lower control arms. Although these are GM stamped parts, we have checked to make sure they are square and straight. This will make a big difference in the front end geometry in final set-up. If not, you will have left and right differences and in the end will present challenges in lining up both sides properly. Investing time in this procedure will pay off in the end result. By the way, we were able to take a pound off of this part.
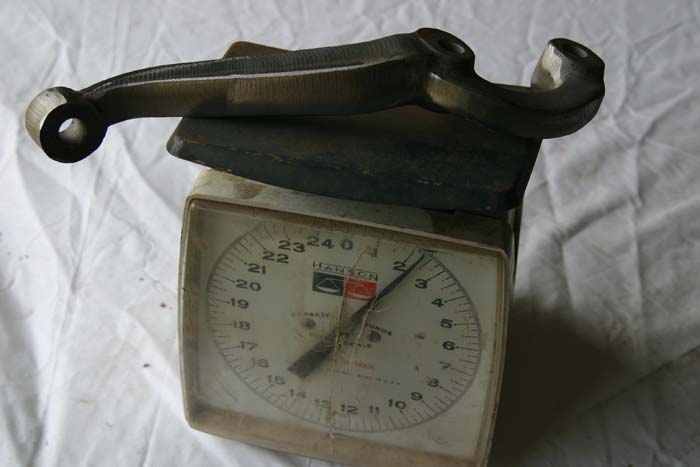 PREPARING THE STEERING ARMS -This photo shows the steering arms, before and after, lightening and grinding. The difference in this process was one pound, and at this point, a pound here and there adds up. This is not the finished part. We still need to check the ackerman and symmetry to assure proper bump steer and alignment. This may need to be moved and tweaked later in the project to be covered in a later update.
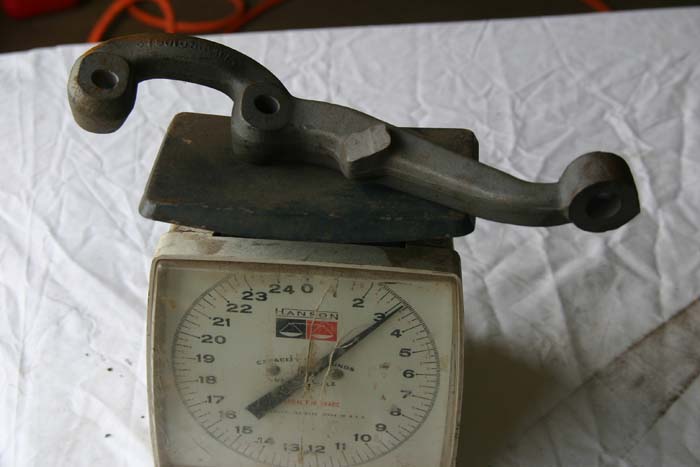
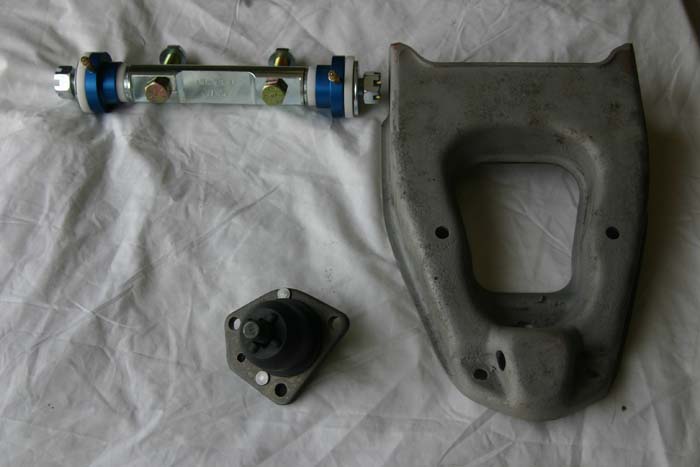
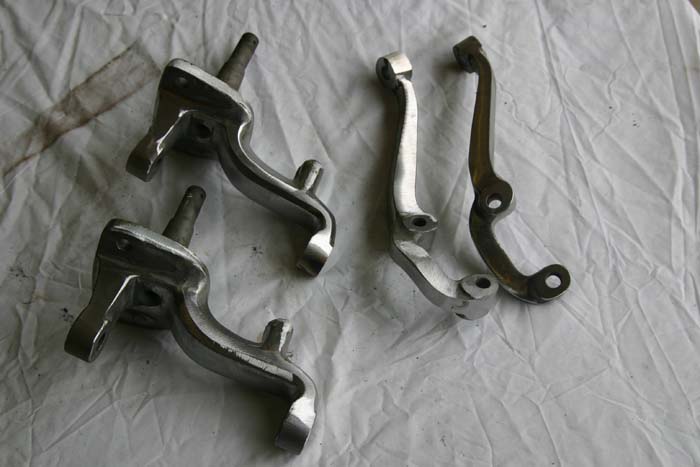 THE REALITY OF 1960S OEM PARTS - This shows the spindles and steering arms. When we began mocking the Strange brakes and caliper plates we noticed the aftermarket and OEM parts didn’t match up through no fault of Strange. The reason for this was back in the 1960s when our car was manufactured; GM relied on different vendors to supply certain parts. Some of them were made to different specs. In contacting Strange, through their engineering department, the issues were addressed and met with better suited parts. We shipped our parts to Strange, who in turn made sure everything fit perfectly. This is a service available to every Strange customer.
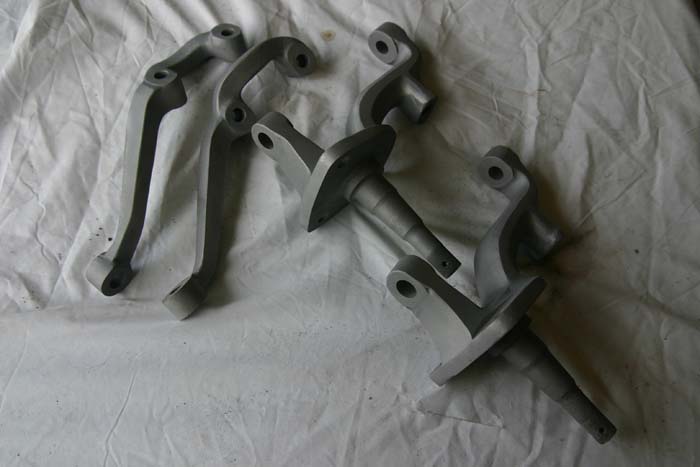
 MATCHING AFTERMARKET AND OEM Through our friends at Jegs.com, we were able to implement Global West upper control arm bushings into the configuration. Global West provides simple instructions to making this installation, including the nylon bushings and aluminum inserts with grease fittings, make for a very strong and smooth operating front end. This adds to the performance capabilities of the car.
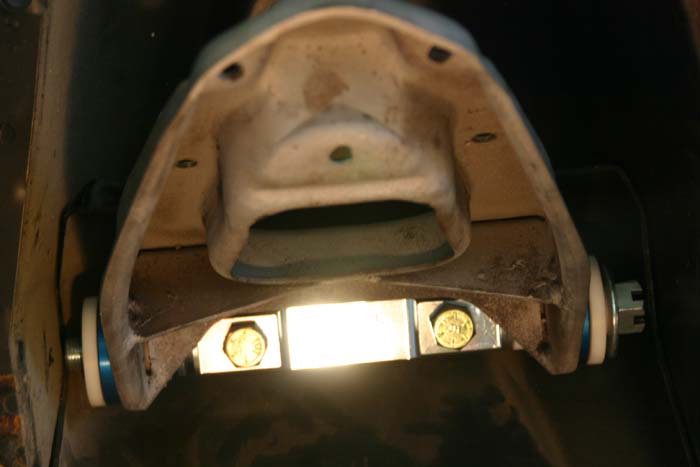
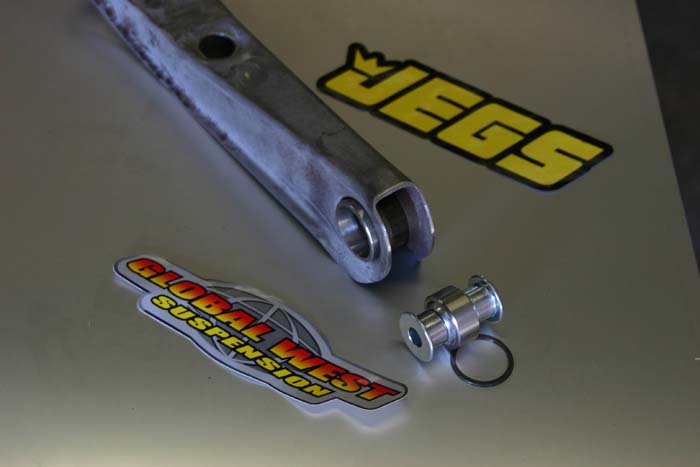 THE IMPORTANCE OF PROPER INSTRUCTION The components of the Global West lower control arms which can be purchased at Jegs.com and installed. The bushing can only go one way. When you insert the bearing and bushings, the fit is very exact to the car. This will help keep the castor and camber in place. Also, there are six adjusting holes and locating blocks for the front end. This will give you more than enough adjustment for the front end to travel correctly while keeping the front tires straight. Now is the time to make any adjustments to the stock chassis before sandblasting and powder coating. That’s why we completely assemble all components. You will need to adjust stock front end. Time here is well spent now rather than later.
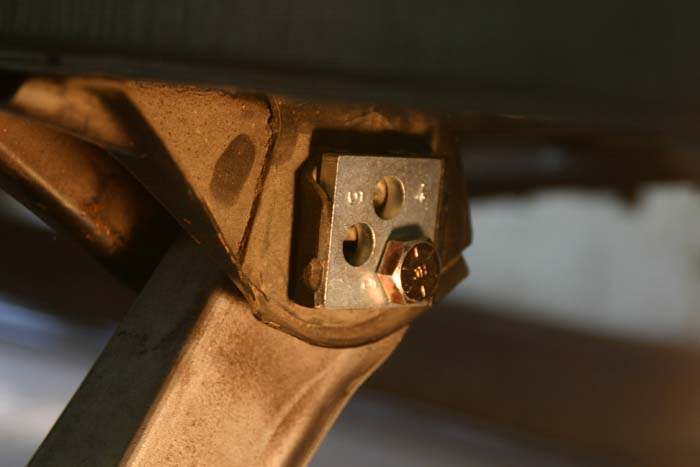
PAST INSTALLMENTS
* Part 1, Outlining The Project
* Part 2, Getting The Car on The Jig
* Part 3, Preparing for the Four-Link
* Part 4, Preparing the Cylinder Heads
* Part 5, Project Gains A Purpose
* Part 6, Shocking the Wagon
* Part 7, A Real Clutch Player
* Part 8, Nova Body Parts Done Right
* Part 9, Space Age Intake Meets The Basket Case
* Part 10, Dart Aftermarket Blocks Poised to Fly in Stk/SS
* Part 11, We Are Rolling Again
* Part 12, Now That's A Rearend
* Part 13, The Devil Is In The Detail
* Part 14, Adding The Rear Frame Rails
 PROJECT WHITE WAGON SUPPORTERS
TL Race Cars (864) 427-5269
Fluid Power Specialties (864) 599-1118
Minton's Wrecker Service (864) 474-2581
Fulton Competition
PART SUPPLIERS
A.E.D. Motorsports Products (tubing)
Applied Racing Technologies (A.R.T)
Aeromotive Inc. (fuel system)
Autometer Guages (tech, engine gauges)
Bill Miller Engineering (rods, pistons)
Browell Bellhousings (bellhousing)
CFE Heads (cylinder heads, intake)
CFM Composites (seats)
Carson's Nut-Bolt and Tool
Comp Cams (camshaft)
Dart Engineering (Engine Block)
Flatout Gaskets (engine gaskets)
Hedman Headers (headers)
I.R.C. (wheelie bar wheels, bracketry)
Jegs Mail Order (misc.)
J&W Nova Parts (body panels and body sheetmetal)
Liberty's Transmissions (Transmission, Gears)
Matco Tools - (tools, tool box)
Mickey Thompson Tires & Wheels (front tires, slicks)
Moroso Performance (valve covers)
QA-1 (Rod Ends)
Quartermax Racing & Chassis Components (suspension, chassis components, axles)
Ram Clutches
Santhuff Shocks (front, rear shocks)
Simpson Safety - (Helmet, Firesuit)
Strange Engineering (Axles, Rearend companents)
Weld Racing (front, rear wheels)
Winberg Crankshafts (crankshaft)